
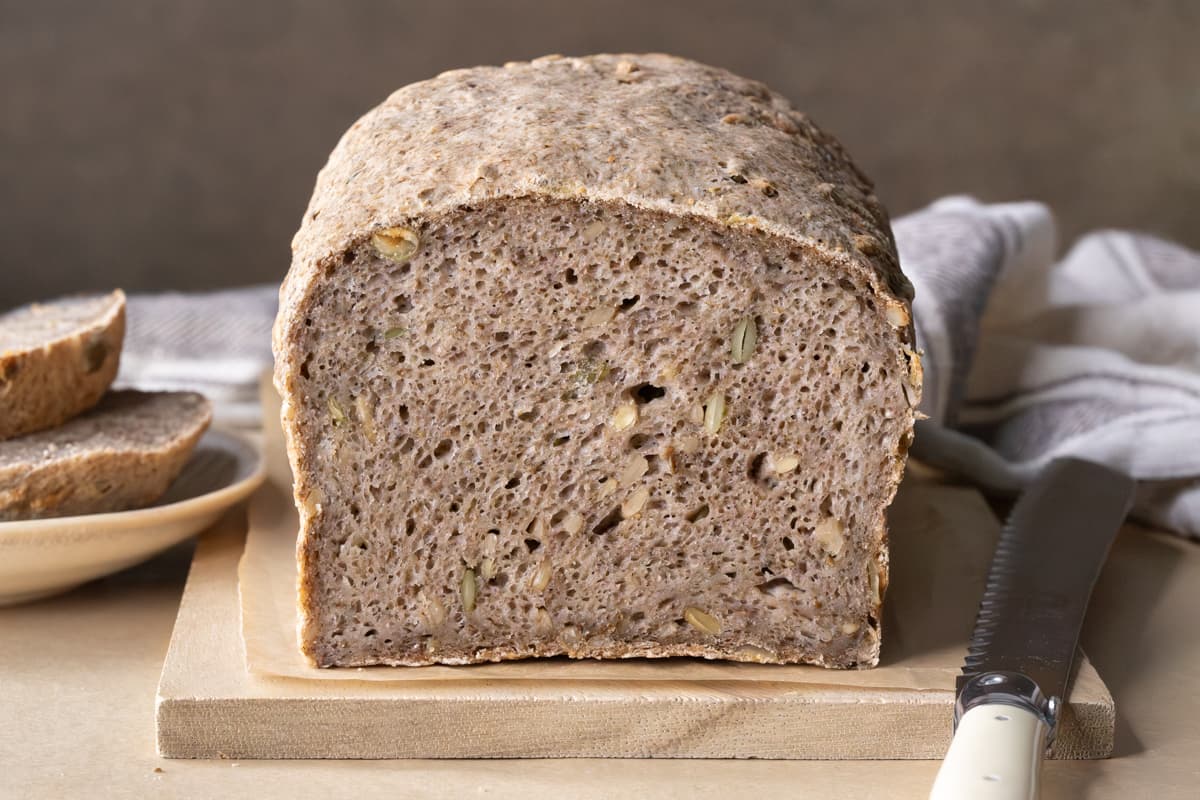
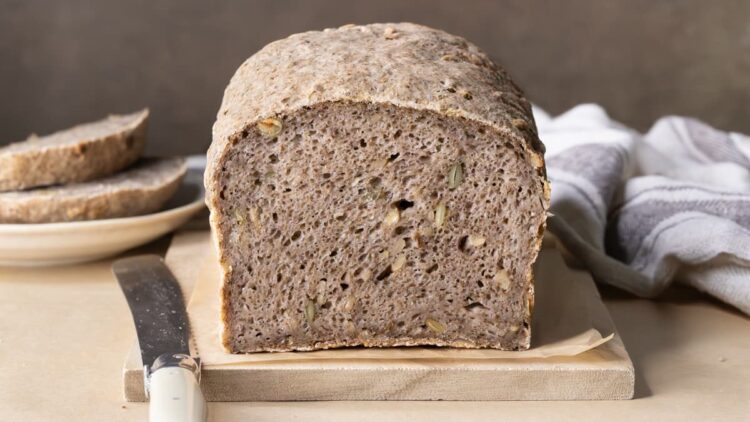
This Gluten-Free Buckwheat Bread with Chia Seeds is a healthy, high-fiber loaf.
- It’s easy to make with psyllium husk and ground chia seeds as binders – no gums, eggs, or dairy needed.
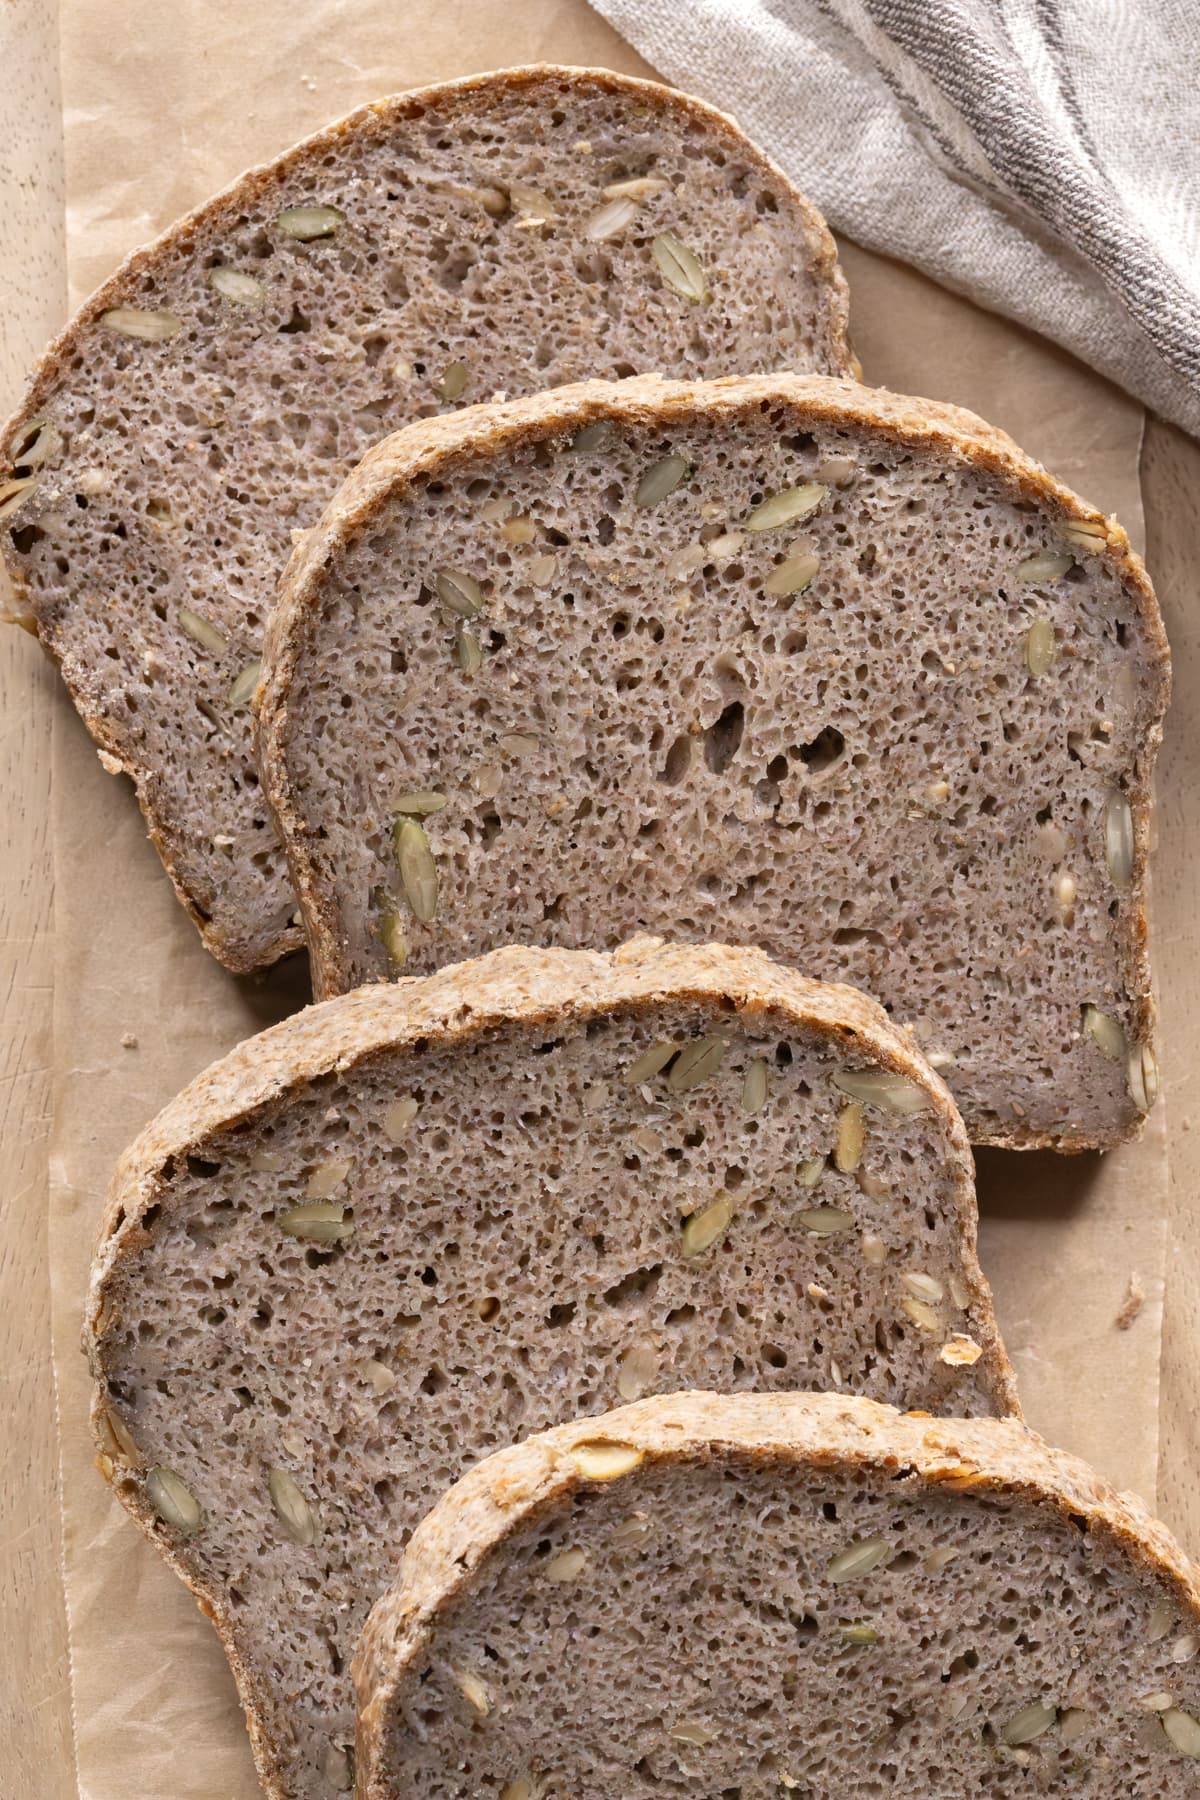
- Pepitas and sunflower seeds add texture and a boost of healthy fats.
The recipe uses instant dry yeast, making it simpler than using a sourdough starter. There’s also no kneading required – just mix the ingredients, let the dough rest, transfer it to a loaf pan, and allow it to rise before baking. The result is a soft loaf with a mild, earthy flavor that’s ideal for toast or sandwiches.
Why this gluten-free buckwheat bread is healthy
Made with fiber-rich ingredients and nourishing fats, this gluten-free buckwheat bread is healthier than many store-bought options:
- High in fiber: Psyllium husk, chia seeds, pepitas, and sunflower seeds provide soluble and insoluble fiber to support digestion.
- Naturally gluten-free: Light buckwheat flour (from hulled buckwheat) keeps the bread gluten-free while giving it a mild flavor and soft crumb.
- Whole-food binders instead of gums: Psyllium husk and ground chia seeds provide structure, so no xanthan gum or guar gum is needed.
- Healthy fats: Extra virgin olive oil, sunflower seeds, and pepitas provide unsaturated fats and vitamin E.
- Low in added sugar: Only a small amount of sugar is used to activate the yeast.
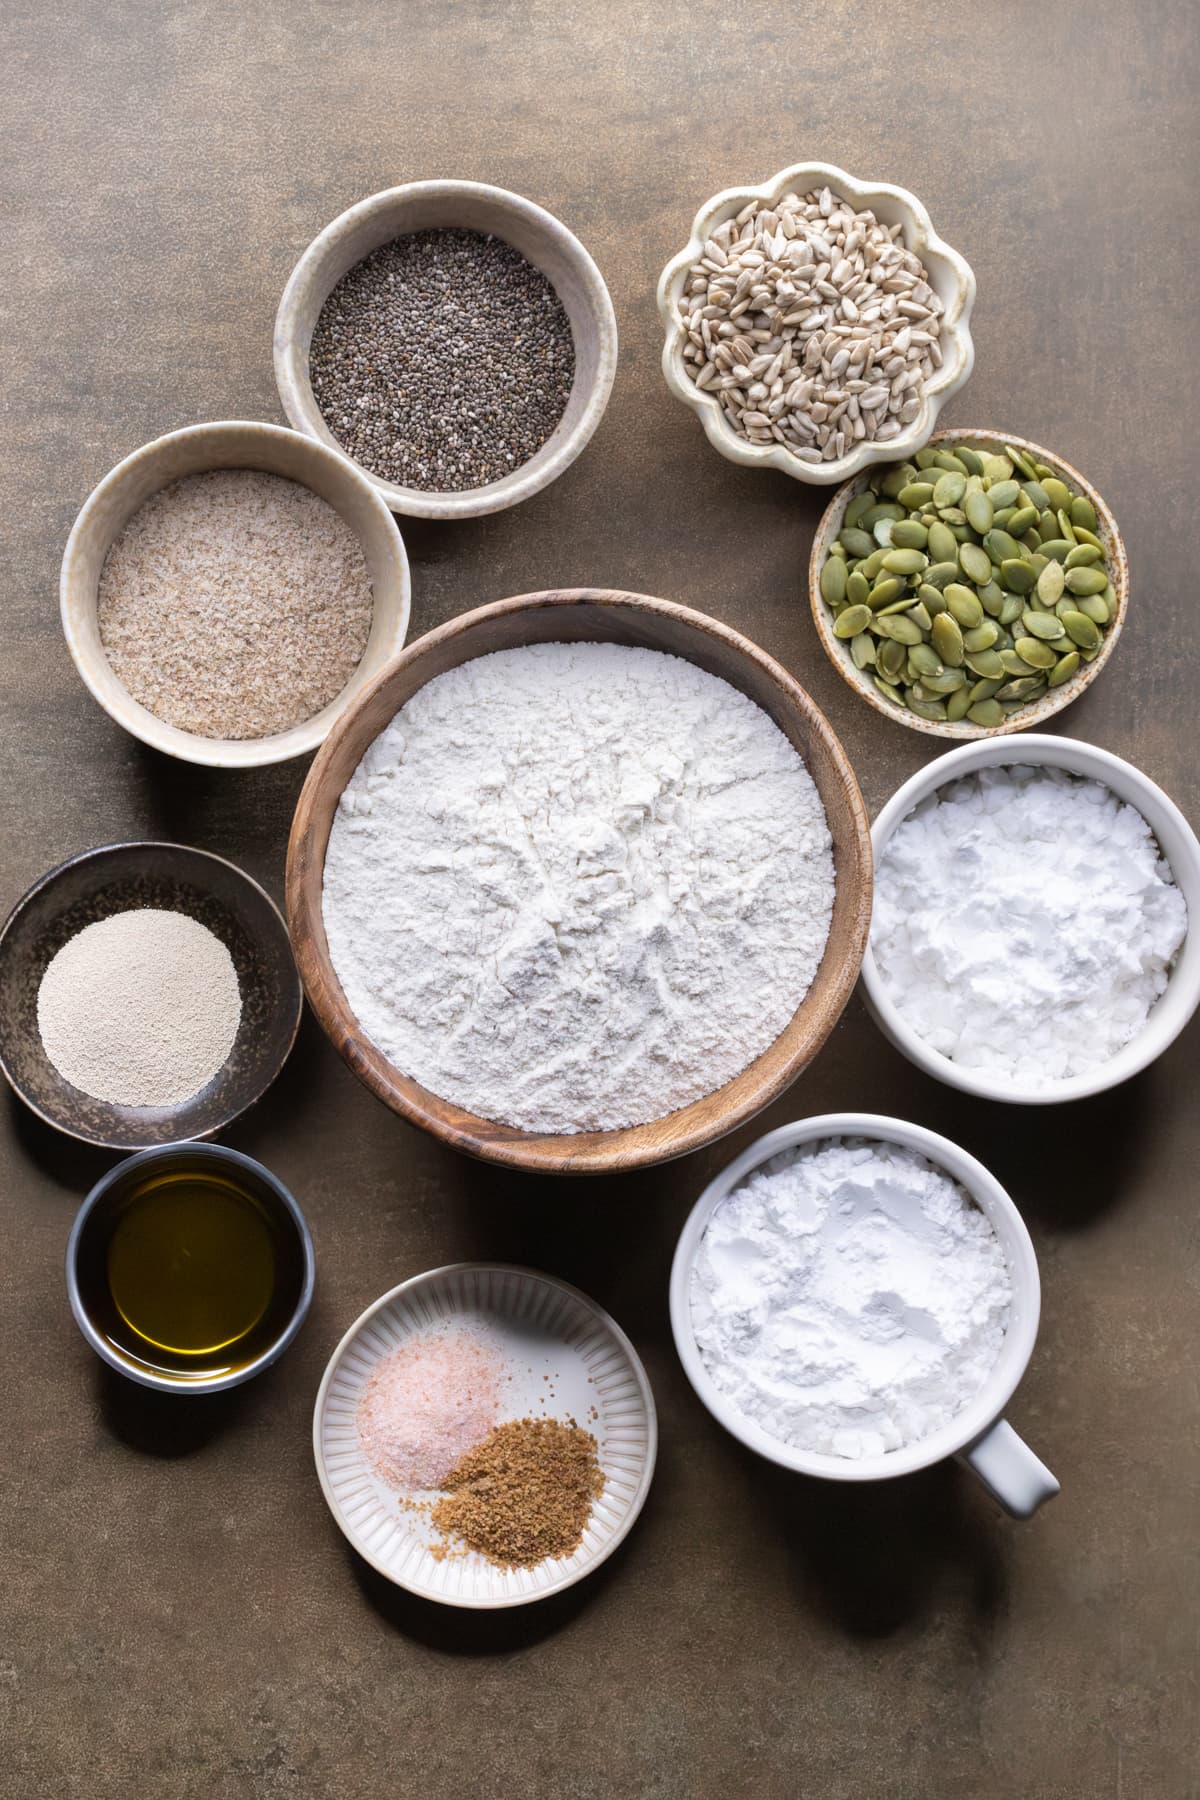
Ingredients for gluten-free buckwheat bread with chia and psyllium
- Buckwheat flour – Light buckwheat flour made from hulled buckwheat gives a mild flavor and soft texture.
- Potato starch – Adds lightness and helps create a soft, tender crumb.
- Tapioca flour – Adds elasticity and chew, helping the loaf hold together.
- Chia seeds – Ground into a fine texture to help bind the dough and add fiber.
- Psyllium husk – Works with the chia seeds to bind the dough and create structure.
- Pepitas (pumpkin seeds) – Add texture, healthy fats, and a nutty flavor.
- Sunflower seeds – Provide crunch, healthy fats, and extra nutrients.
- Extra virgin olive oil – Softens the crumb and helps keep the bread tender.
- Instant yeast – Helps the bread rise and gives it lift.
- Sugar – A small amount feeds the yeast so it activates properly.
- Warm water – Hydrates the dough and activates the yeast.
- Salt – Enhances flavor and balances the dough.
Troubleshooting tips for gluten-free bread baking
These tips can help fix common issues with gluten-free bread:
- Yeast won’t foam – This usually happens when the yeast is inactive, expired, or exposed to water that is too hot or too cold. To fix it, make sure your yeast is fresh, use comfortably warm water around 100°F (38°C), and let it sit in a warm spot for a few minutes to activate.
- Dough doesn’t rise during proofing – Dough often fails to rise if the yeast isn’t active, the proofing environment is too cold, or the dough is too dry. To avoid this, test your yeast first, proof the dough in a warm, draft-free spot, and add a little extra water if the dough feels stiff.
- Bread is gummy – Gummy bread is usually the result of underbaking or too much moisture in the dough. To avoid this, measure your ingredients carefully, bake until the loaf reaches an internal temperature of 205°F to 208°F (96°C to 98°C), and always let it cool completely before slicing.
- Bread is too dense – Dense bread often occurs when the dough is too dry, the binders haven’t fully absorbed the water, or the loaf hasn’t had enough rise time. To avoid this, ensure the balance of flours, starches, and water is correct, and allow the dough to rest and proof fully in a warm place.
- Crust too hard or too soft – Crust issues usually come from moisture levels or baking time. For a softer crust, keep the loaf covered with foil for most of the baking time. For a firmer or darker crust, uncover it earlier. Always cool the bread on a wire rack to prevent excess steam from softening the crust.
How to double the recipe to make two gluten-free loaves
You can double this gluten-free buckwheat bread recipe to bake two loaves at once. Follow these tips to ensure both loaves turn out evenly baked.
- Use a larger bowl: Mix all ingredients in a 12 inch (30 cm) bowl. If your bowl is smaller, split the ingredients into two bowls and mix separately.
- Use two identical loaf pans: Choose pans of the same size and material to ensure even baking.
- Divide and shape the dough: After mixing and resting, split the dough into two equal portions. Shape each portion before transferring to the prepared pans.
- Preheat the oven: Make sure the oven reaches the correct temperature before baking. Baking time remains the same as for a single loaf.
- Position the loaves properly: Place both loaves on the middle oven rack, spaced evenly to allow consistent heat circulation.
- Monitor towards the end of baking: In the final 10 to 15 minutes, check the loaves. If one browns faster, rotate the pans for even color.
How to store gluten-free bread for maximum freshness
Gluten-free bread stays freshest when stored in the freezer. While it can be kept at room temperature or in the refrigerator for short-term use, freezing is the best method for long-term freshness:
- Room temperature: Store the bread in an airtight container for up to 2 days. This is convenient for immediate use but the bread may dry out faster than when frozen.
- Refrigeration: Refrigerating gluten-free bread can extend its shelf life to about 1 week, though it may become dry.
- Freezing (recommended): Slice the bread and store it in a sealed freezer bag or airtight container in the freezer for up to 3 months. Thaw slices at room temperature, in the microwave, or toast directly from frozen.
Gluten-Free Buckwheat Bread with Chia Seeds Recipe
Recipe video below. This easy gluten-free buckwheat bread is high-fiber, no-knead, and made without gums. Psyllium husk and chia seeds act as binders, while pepitas and sunflower seeds add texture. With a mildly earthy flavor, it’s great for savory toppings, toast, or sandwiches.
Measurement note: Bread baking needs precision, so this recipe uses grams only. A digital kitchen scale is the easiest way to measure the ingredients.
- Serves: 14 slices
- Prep time: 30 mins
- Resting and proofing: 1 hour 30 mins
- Cook time: 1 hour 20 mins (plus cooling before slicing)
Ingredients
Wet ingredients
- 450 g warm water (not hot – see Note 1)
- 4 g sugar (white or coconut)
- 5 g instant yeast (see Note 2)
- 36 g extra virgin olive oil
Dry ingredients
- 220 g buckwheat flour (light/hulled for best texture)
- 30 g chia seeds
- 100 g potato starch
- 85 g tapioca flour
- 30 g psyllium husk (whole/flaky, not fine powder)
- 5 g fine salt
Mix-ins
- 40 g pepitas (pumpkin seeds)
- 40 g sunflower seeds
Instructions
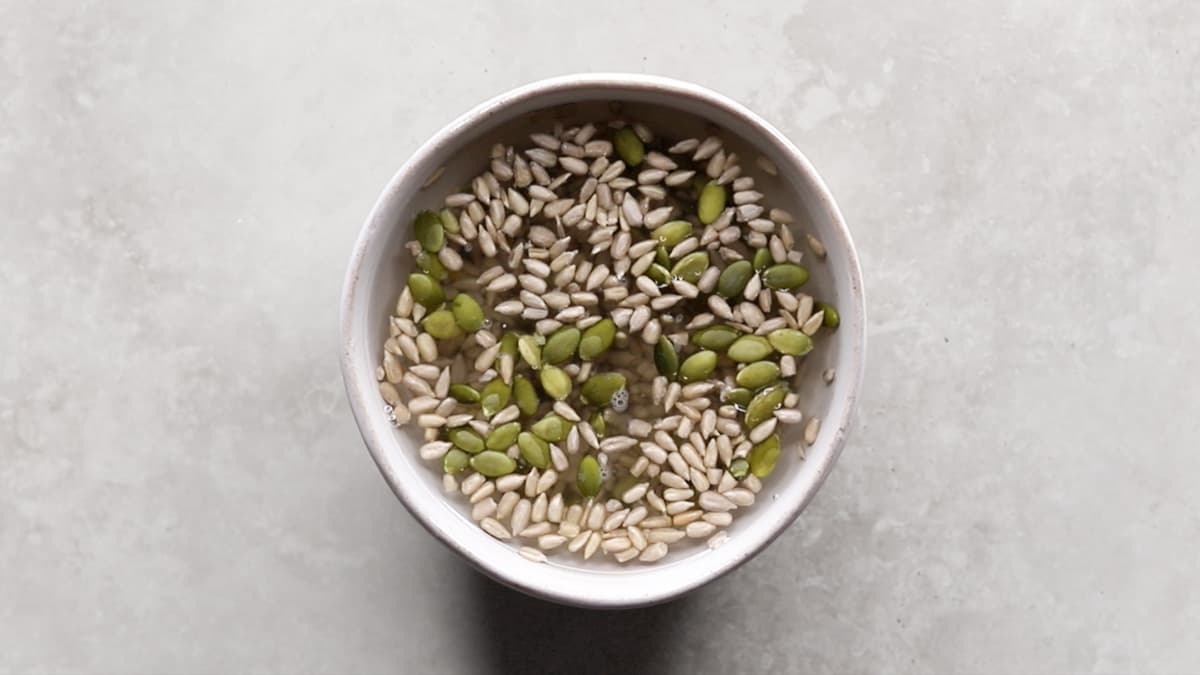
- Soak mix-ins
Place the pepitas and sunflower seeds in a bowl. Cover with room temperature water and set aside.

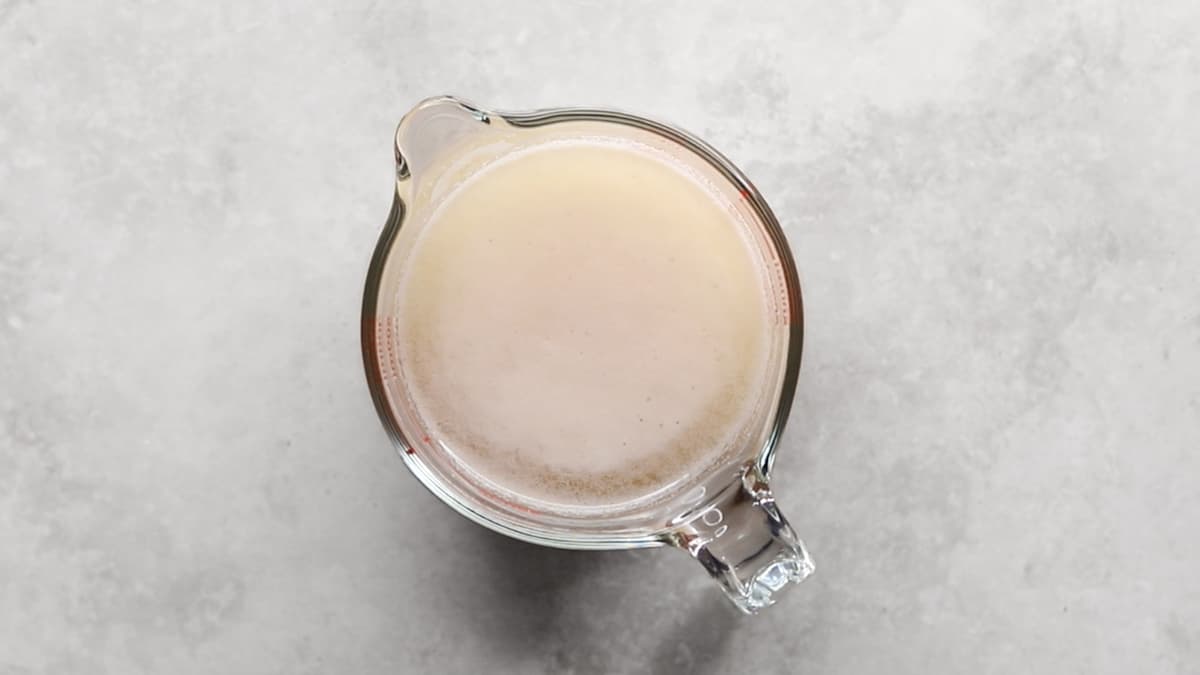
- Test yeast
In a jug or bowl, mix the 450 g warm water, sugar, and yeast. Stir gently until the yeast dissolves. Let it sit for 5 to 10 minutes until foamy. If it doesn’t foam, start again with a new batch of yeast.
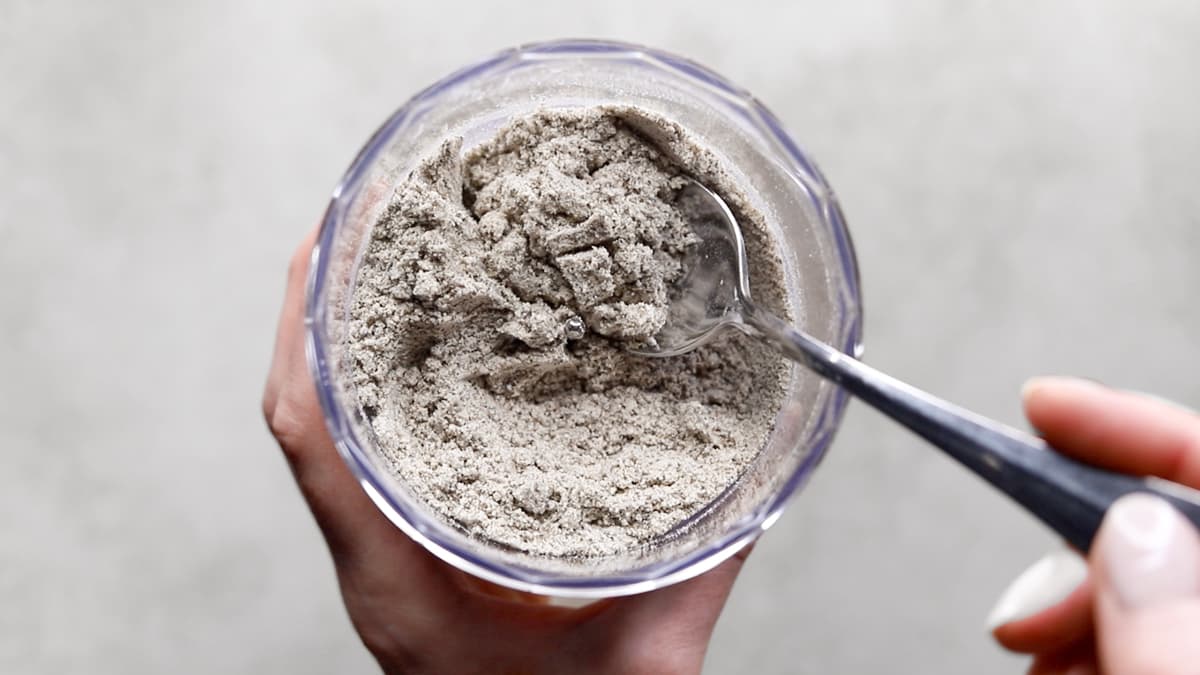
- Blend chia seeds
Blend the chia seeds with 40 g of the buckwheat flour in a food processor until the seeds break into small flecks. The flour helps to prevents clumping.
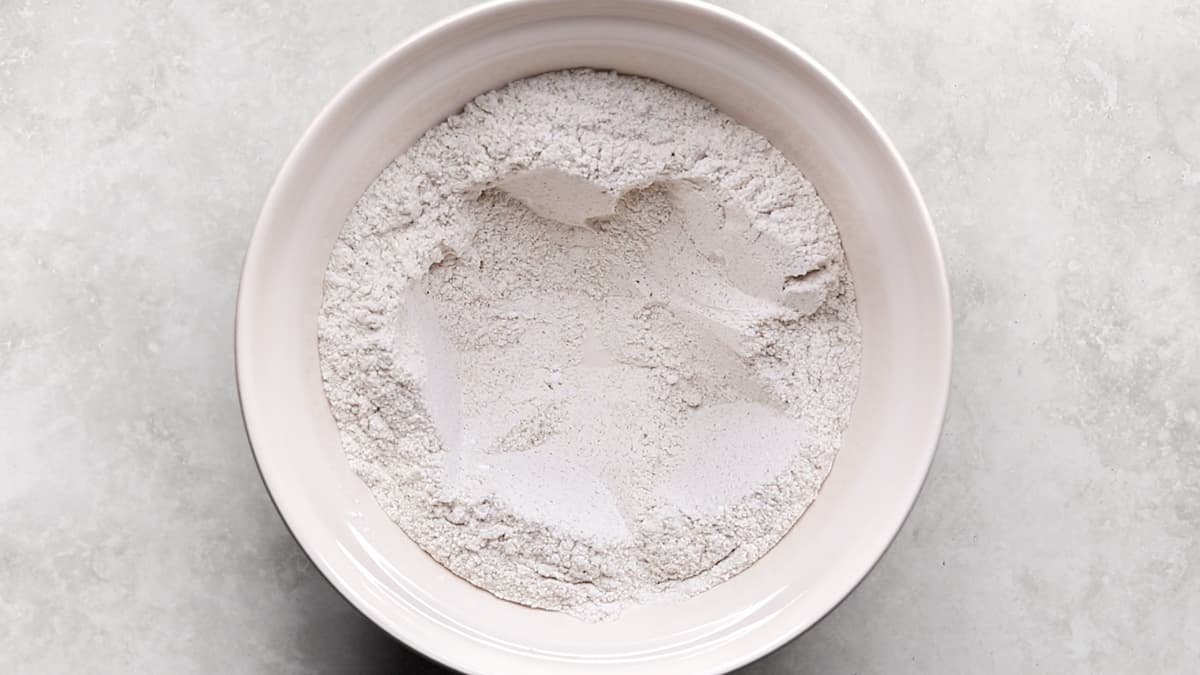
- Mix dry ingredients
In a large bowl, whisk together the blended chia mixture, the remaining 180 g buckwheat flour, potato starch, tapioca flour, psyllium husk, and salt. Make a well in the center.
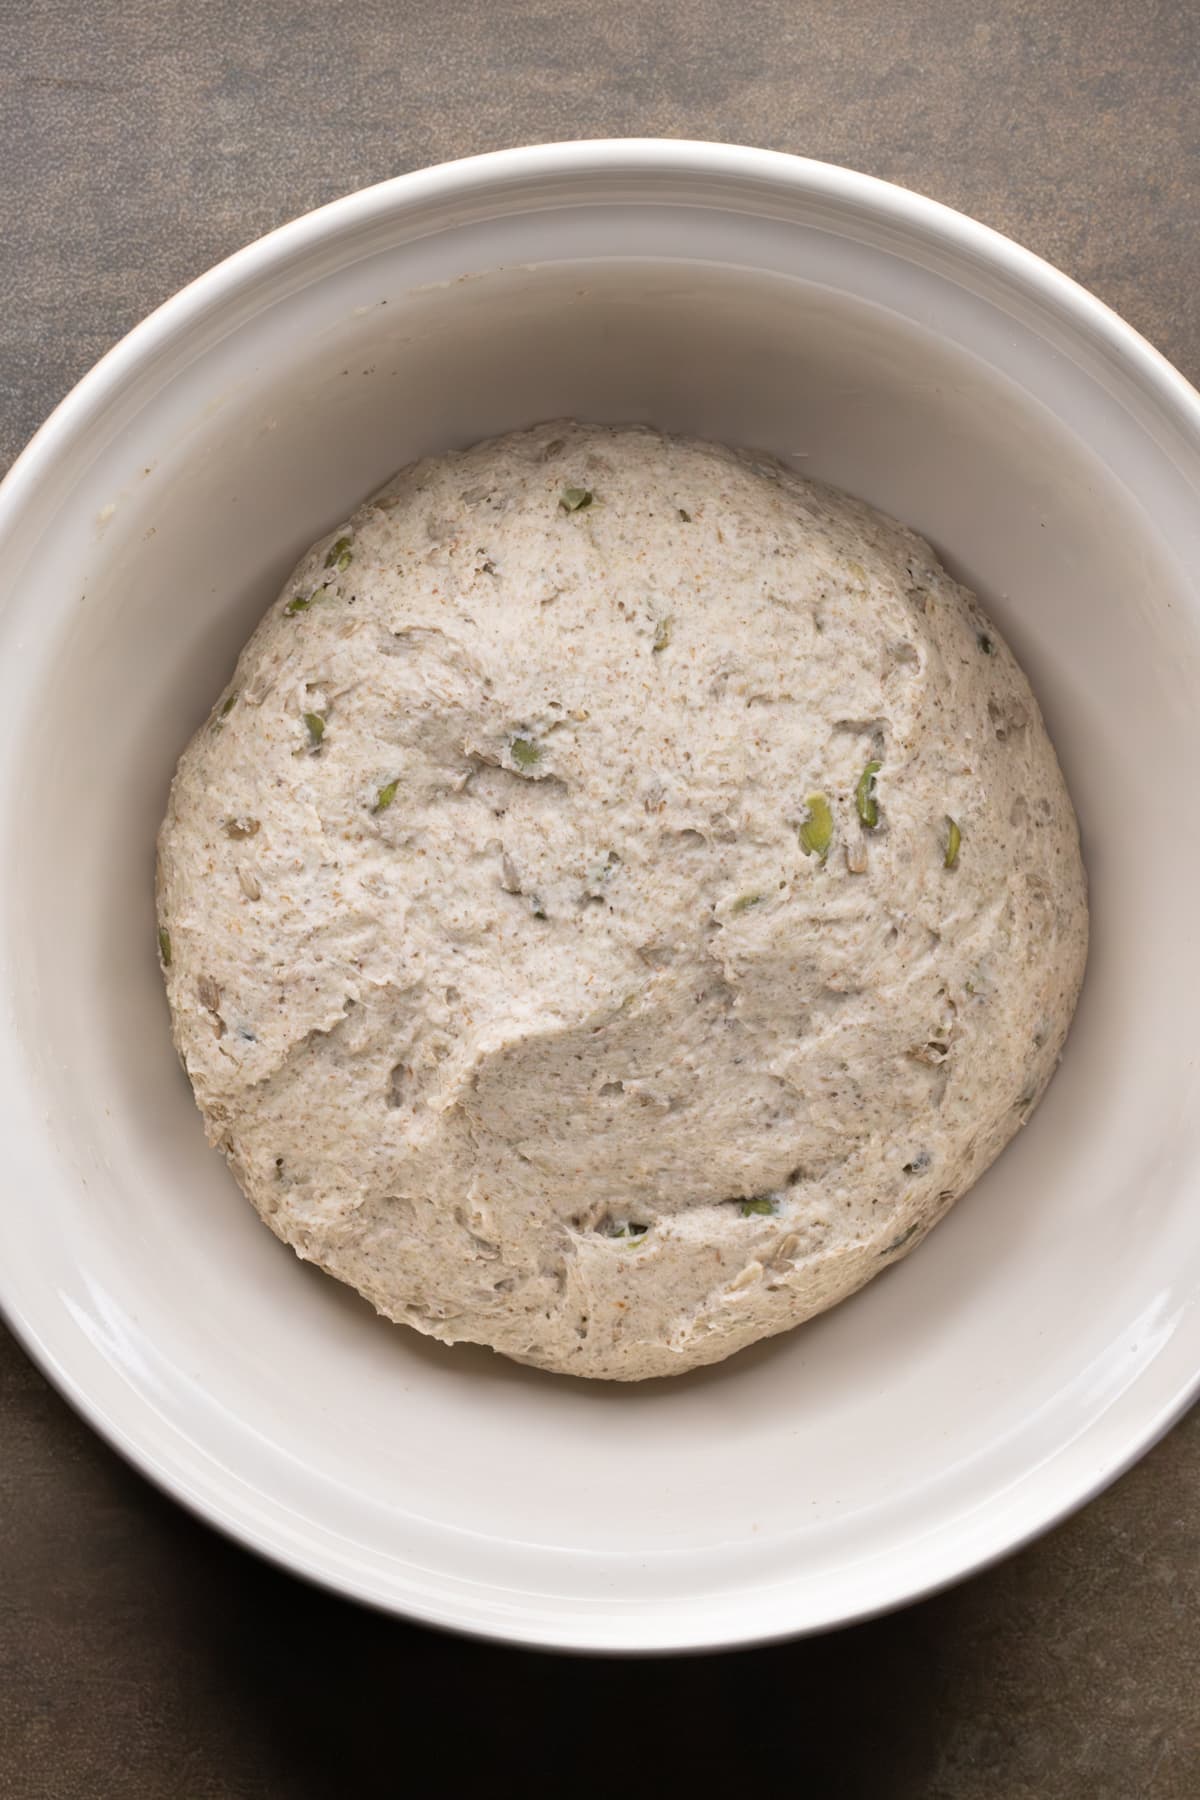
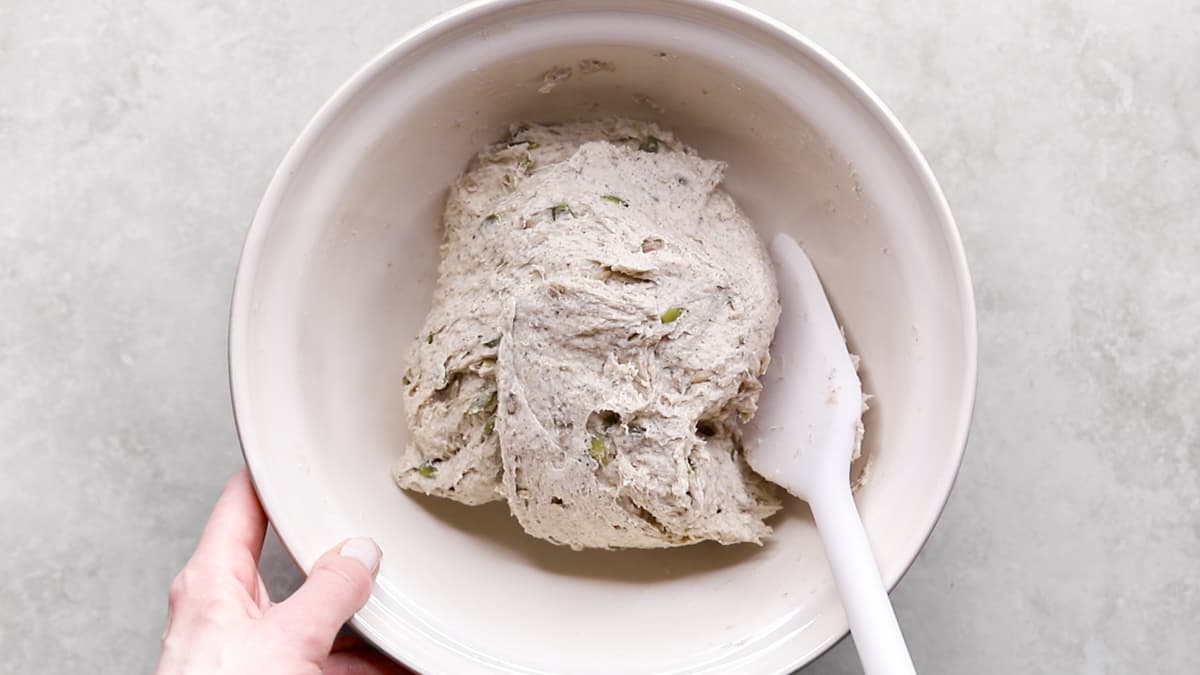
- Mix dough
Add the olive oil and yeast mixture to the dry ingredients. Mix until thickened, ensuring there are no pockets of dry flour. Drain the soaked seeds and fold them into the dough using a cutting motion.
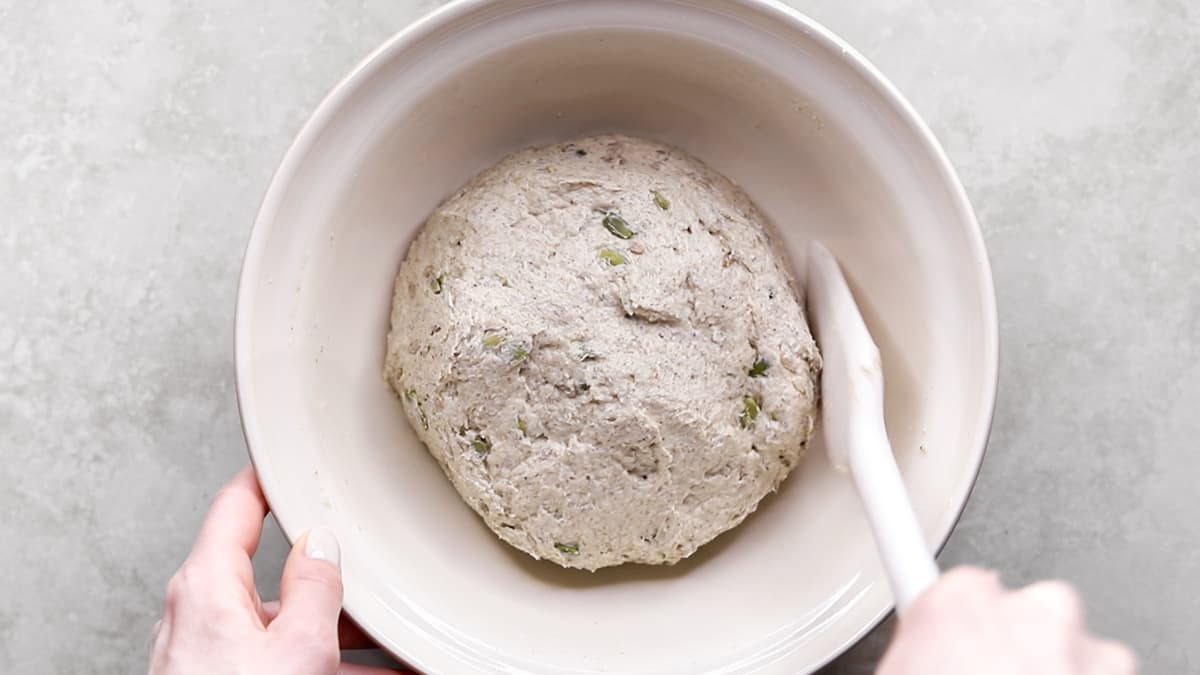
- Let dough rest
Shape the dough into a smooth dome. Cover with a plate or loosely with foil. Rest for 30 minutes to allow the psyllium husk and chia to absorb the water and thicken the dough.
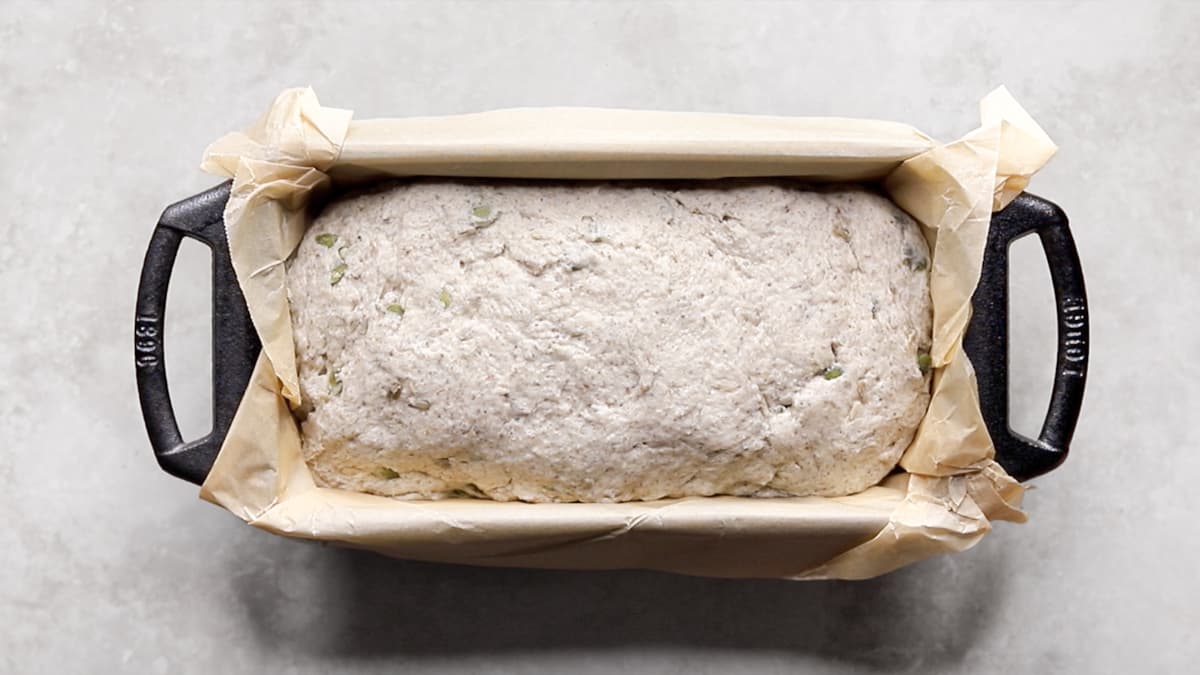
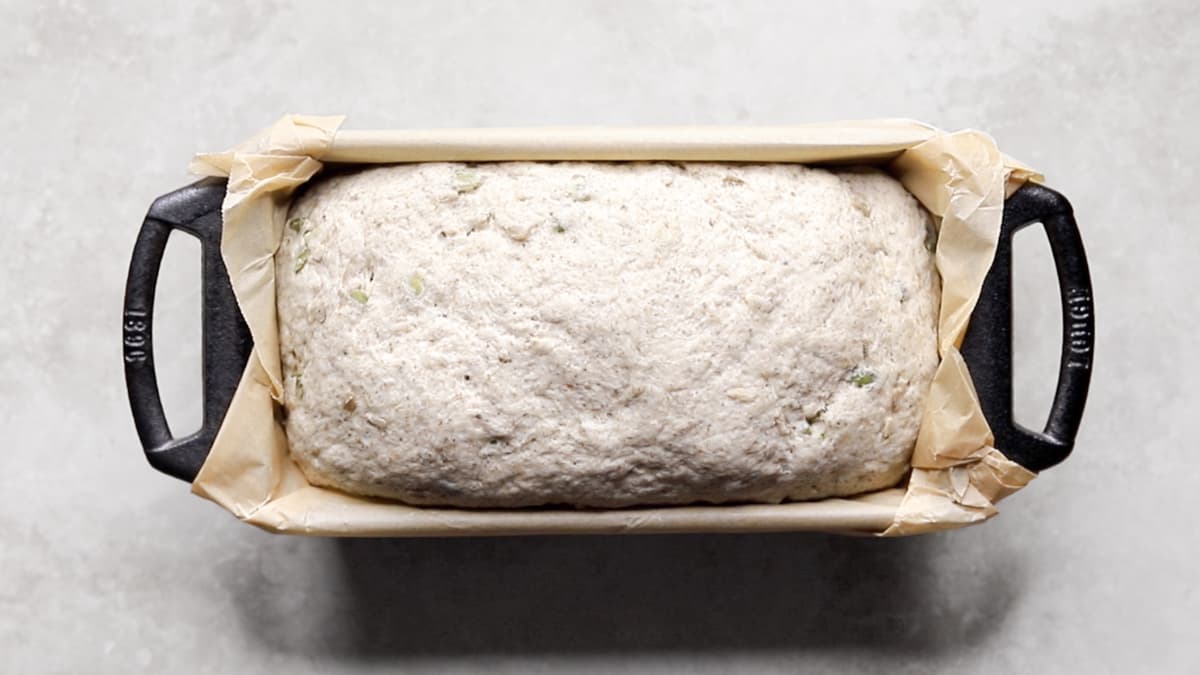
- Transfer dough to pan
Line a 4×8 inch (20×10 cm) loaf pan with parchment paper, letting the edges overhang (see Note 3 if using a cast iron pan). Lift the dough from the bowl and gently shape it into a rough rectangle to fit the pan. Place it in the pan and press gently to even out the top.
- Proof dough in pan
Loosely tent the pan with foil, leaving space above the dough. Let it rise in a warm spot for 1 hour until puffed.
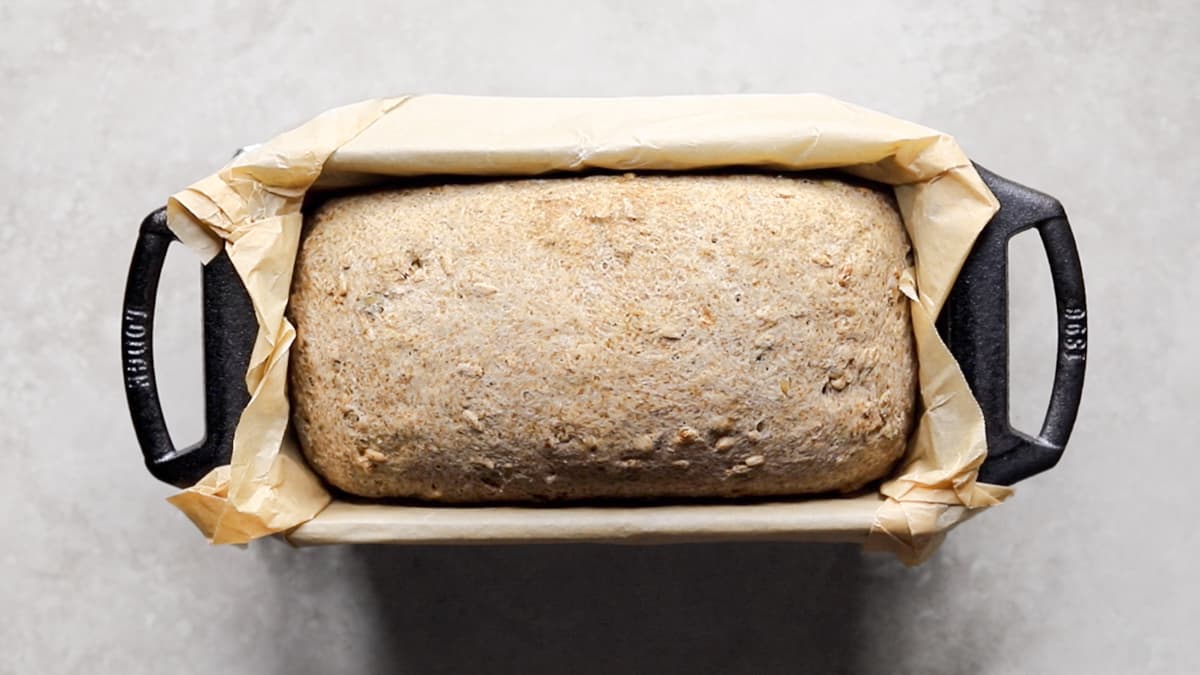
- Preheat oven and bake
Preheat your oven to 375°F (190°C) conventional. Bake the loaf covered with foil for 40 minutes, then uncover and bake for another 40 minutes until golden. For best results, use a food thermometer to check doneness (see Note 4).
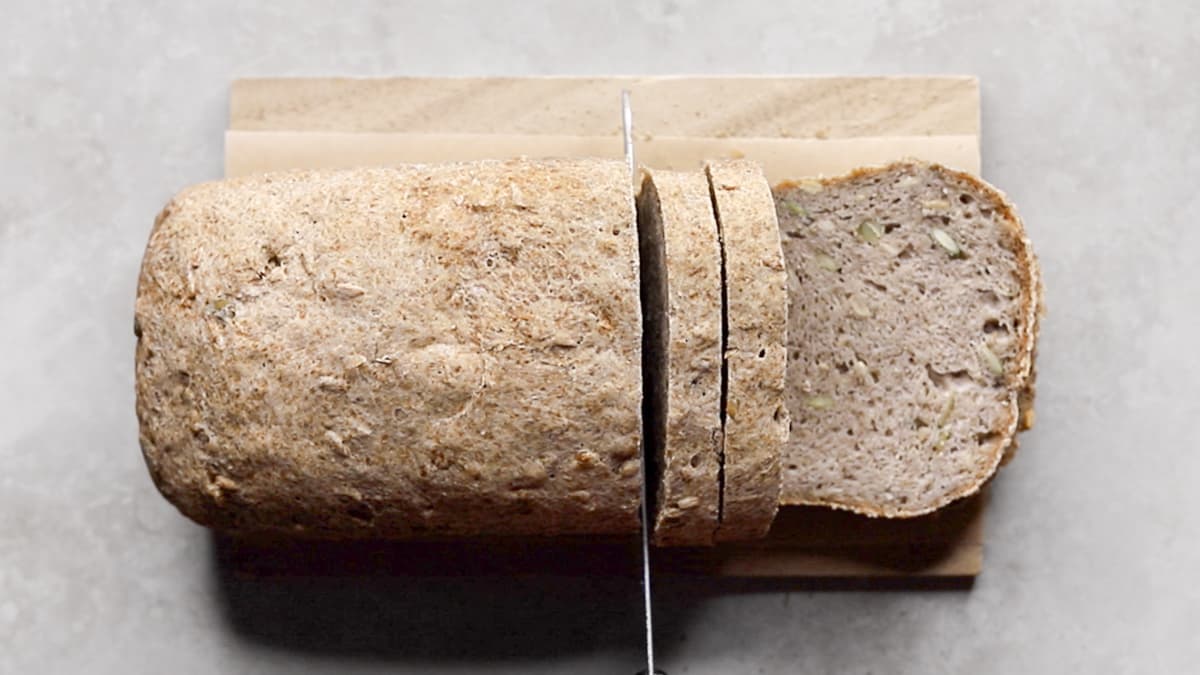
- Cool and slice
Lift the loaf out of the pan using the edges of the parchment paper and transfer to a cooling rack. This prevents a soggy crust from trapped steam. Cool completely (2 to 3 hours) before slicing for the best texture.
Notes
- Warm water – The water should be about 100°F (37°C) or comfortably warm to the touch. To quickly get warm water, mix a little boiling water from a kettle into room temperature water.
- Yeast – This recipe uses instant yeast (also called instant dry yeast). While instant yeast can be mixed directly into dry ingredients, I dissolve it in the warm water and sugar to confirm it’s active (see Step 2) before adding it to the dough.
- Cast iron loaf pan – Gluten-free dough is wetter than regular bread dough, so it can weaken cast iron seasoning during proofing. To prevent this, line the pan with foil first, then parchment paper to keep moisture from reaching the pan.
- Internal temperature for doneness – The bread is done when it reaches 205°F to 208°F (96°C to 98°C). Insert a food thermometer into the center, making sure it doesn’t touch the pan. If it’s below this range, return the bread to the oven and check again in 5 to 10 minutes.
Recipe video
Watch the recipe video to see how to make Gluten-Free Buckwheat Bread with Chia Seeds.
Frequently asked questions
Gluten-free bread usually doesn’t rise if the yeast is inactive, the proofing environment is too cold, or the dough is too dry. To help your gluten-free bread rise, test the yeast in warm water with sugar, proof the dough in a warm spot, and a little extra water if the dough feels stiff.
Gluten-free bread becomes dense when the dough is too dry, the binders like psyllium husk and chia seeds haven’t fully hydrated, or the loaf hasn’t had enough rise time. To prevent dense gluten-free bread, measure ingredients accurately, allow the dough to rest so the binders absorb water, and give the dough full proofing time in a warm environment.
Gluten-free bread can become gummy when it’s underbaked or the ratio of flours to water is off. To prevent gummy gluten-free bread, carefully measure your ingredients, bake until the center of the loaf reaches 205°F to 208°F (96°C to 98°C), and cool the loaf completely before slicing.
A hard crust on gluten-free bread happens when the loaf bakes uncovered for too long. To prevent a hard crust, keep the loaf covered with foil for about half to two-thirds of the baking time, then uncover it for the remainder so the crust can brown without becoming overly tough.
A soft or pale crust on gluten-free bread is usually caused by excess steam or underbaking. To fix a soft or pale crust, bake the loaf uncovered for a bit longer, then transfer it to a wire rack to cool.
Chia seeds and psyllium husk act as binders in gluten-free bread. They absorb water to form a gel-like structure that gives the dough elasticity and prevents crumbling. This creates a soft loaf without using gums, eggs, or dairy.
Yes. You can double a gluten-free bread recipe to bake two loaves at once. Use two identical loaf pans, divide the dough evenly, and place both loaves on the middle oven rack for even baking. Baking time is the same as for a single loaf, but rotate the pans near the end of baking to ensure even browning.
Yes. Freezing gluten-free bread is the best way to maintain freshness and texture. Slice the bread before freezing and store it in a sealed freezer bag or airtight container for up to 3 months. You can defrost frozen slices at room temperature, in the microwave, or toast them directly from frozen.