This Easy Vegan Chocolate Mousse is dairy-free and made with simple pantry staples. No whipping and no need for a bar of chocolate! I make it when I want something ultra chocolatey but don’t have any chocolate bars at home.
All you need is a can of coconut cream (I always keep one in my fridge), raw cacao powder or cocoa powder, liquid sweetener such as rice malt syrup, vanilla and some sea salt.
The recipe makes 4 – 6 serves. The mousse is quite decadent, so you can keep the serves small and divide it up into 6 little glasses or pots.
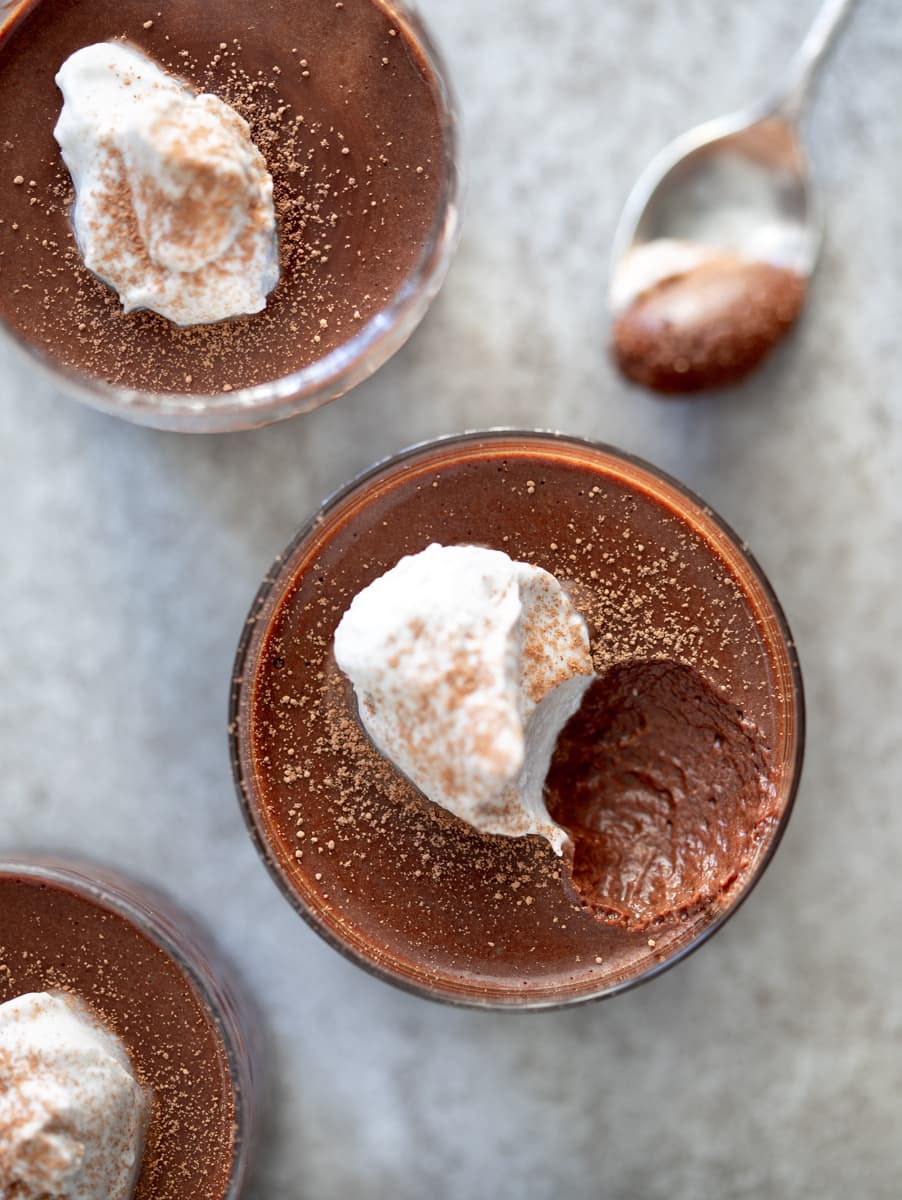
A smaller serve is probably a good amount if you’re having it as a dessert after dinner. But I would happily have a larger serve when it’s split into 4 glasses. It’s really up to you!
How to make Easy Vegan Chocolate Mousse
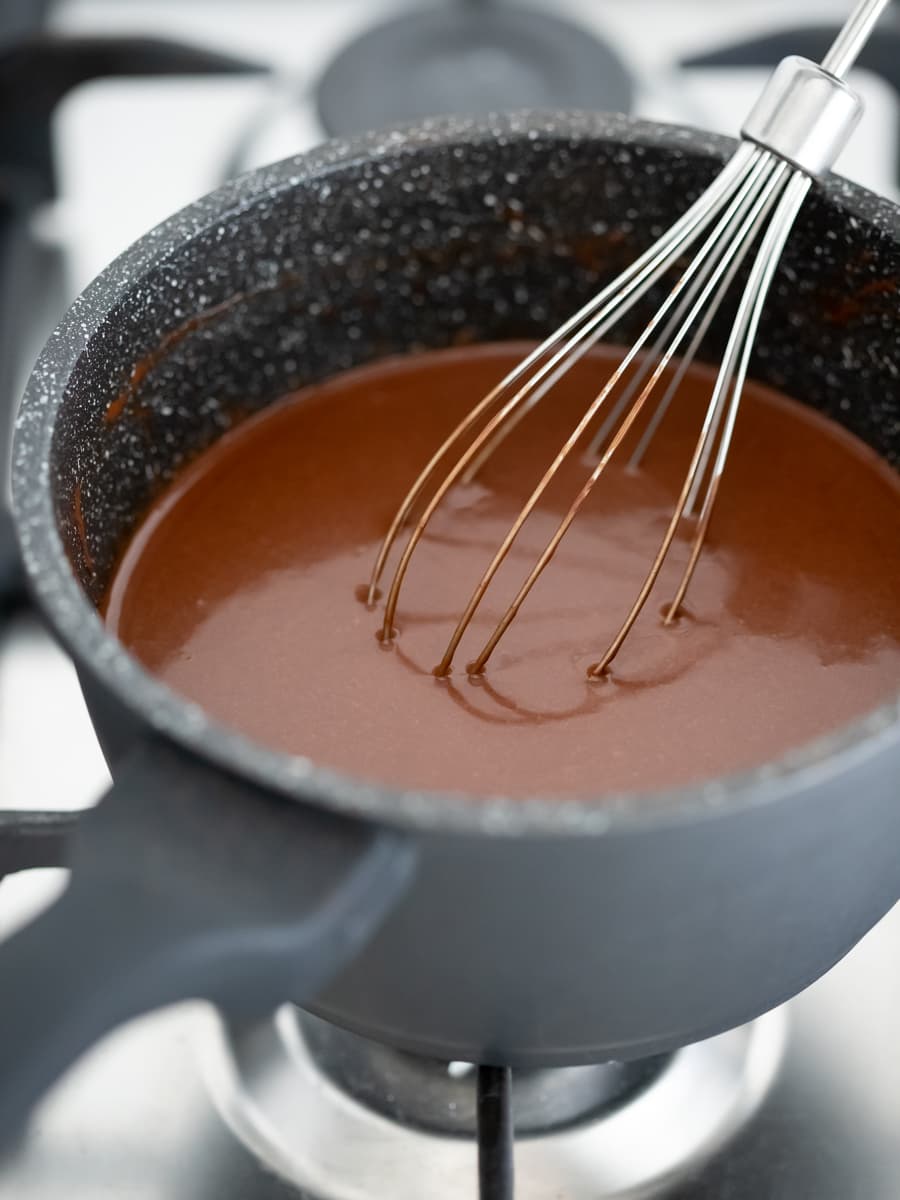
This mousse doesn’t require any whipping of cream or eggs. All you have to do is gently heat the ingredients together in a saucepan to melt away any lumps from the coconut cream.
I stir the ingredients together with a little whisk, but you could just use a spoon. Then you simply pour the smooth, chocolatey mixture into glasses and chill in the fridge to set.
The thick and creamy texture of the mousse is achieved because we use the thick portion of refrigerated coconut cream. Even though we heat the ingredients together, you want to start with refrigerated coconut cream so that you can scoop out the thick portion that rises to the top and only use that part in the recipe.
Then, after the mousse chills in the fridge, the coconut cream firms up again to thicken the mousse and create a creamy texture.
Ingredients for Easy Vegan Chocolate Mousse
Refrigerated coconut cream: Since this is a vegan mousse without dairy, coconut cream is the base. When you keep the can in the fridge, the thick portion rises to the top, which is what we want. It gives the mousse its thick and creamy texture.
Raw cacao powder: To give the mousse its chocolate flavour. You could also use cocoa powder instead, which is usually slightly less bitter than raw cacao powder.

Rice malt syrup: I like to use rice malt syrup to sweeten the mousse because its thick texture helps to keep the mousse thick. It’s also fructose-free for people who are sensitive to fructose. Honey would also work if you’re ok with a higher fructose content.
Vanilla extract: Vanilla adds depth of flavour to the mousse. Vanilla bean powder or vanilla bean paste are the ultimate choices if you have them. I would just avoid vanilla essence, which can have a chemical taste. If you don’t have extract, powder or paste, you can leave it out. The mousse will still taste great.
Sea salt: I always add some sea salt to chocolate desserts to enhance the chocolate flavour. A generous pinch is perfect and it won’t make the mousse taste salty. Sometimes I like to sprinkle a little extra sea salt on top before serving as well.
For another mousse dessert, you might like my Lemon Cheesecake Mousse. That recipe does include dairy, so it’s not vegan. But it’s one of my favourite things to make when I feel like cheesecake but don’t want to make a whole cake.
Serves
4 – 6
Prep time
5 mins
Cook time
1 hour
Ingredients
- 1 1/4 cups (310ml/295g) thick portion refrigerated coconut cream
- 1/2 cup (35g) raw cacao powder
- 1/3 cup (112g) rice malt syrup
- 1 teaspoon vanilla extract
- Pinch of sea salt
Method
-
1Place 1 cup of the thick portion of refrigerated coconut cream into a small saucepan. Set aside the remaining 1/4 cup in a covered plastic or glass container in the fridge.
-
2Add the cacao powder, rice malt syrup, vanilla extract and salt to the saucepan. Gently stir everything together over a low heat to melt away any lumps from the coconut cream. I use a little whisk to stir the mixture. Taste and add more rice malt syrup (or your preferred sweetener) if desired.
-
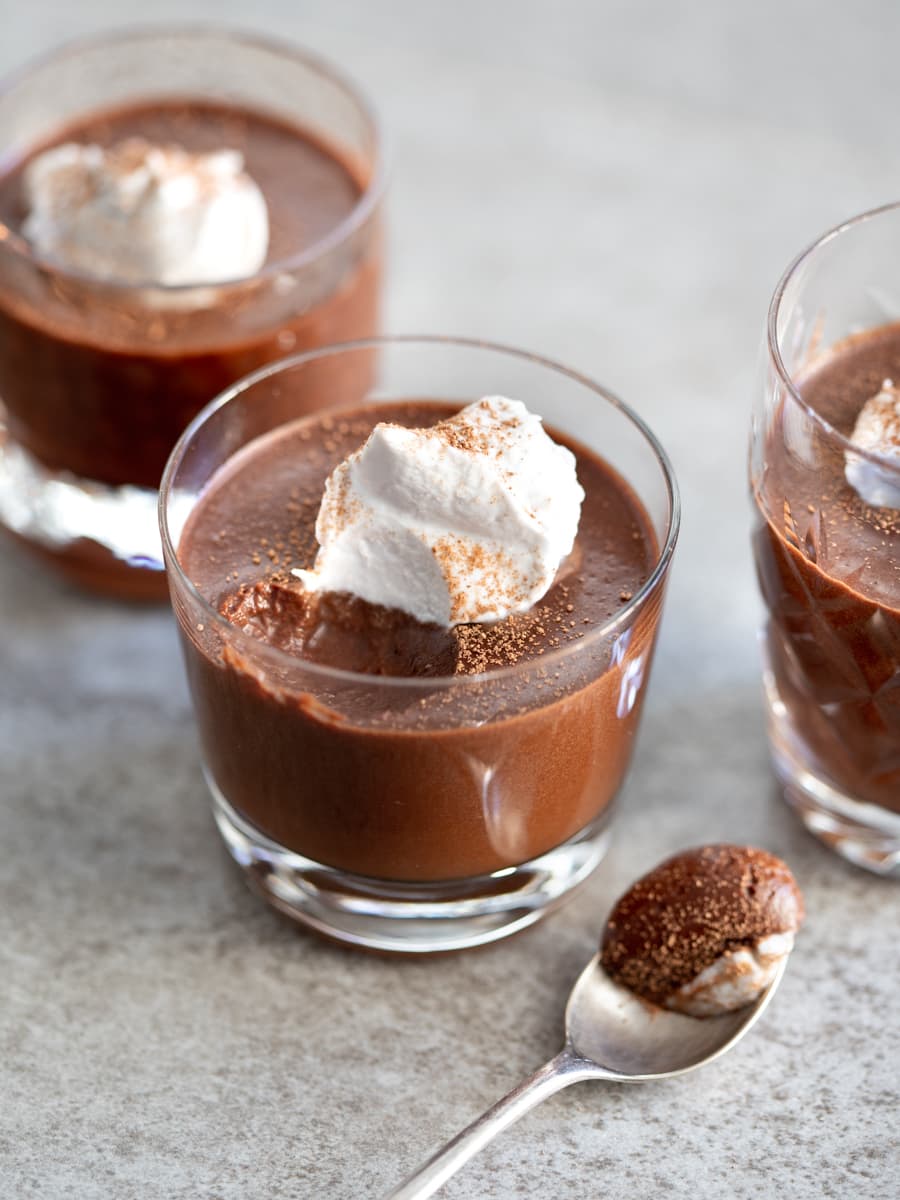
3Once smooth, pour the mixture into 4 or 6 serving glasses. Cover with cling film and chill in the fridge for at least 1 hour to set.
-
4When ready to serve, briefly stir the remaining 1/4 cup refrigerated coconut cream to break up any lumps, then dollop it on top of each glass of mousse. Dust with a little extra cacao powder.
Notes
The mousse is best served straight from the fridge. The texture will become more liquid as the coconut cream comes to room temperature.
1 x 400ml can of refrigerated coconut cream gave me enough of the thick portion to make this recipe. Different brands vary though, so it’s handy to have an extra can in the fridge.
The mousse will keep covered in the fridge for as long as the coconut cream keeps once opened. This is usually 3 days when transferred to a glass or plastic container, but check what it says on your can.
Nutrition
Serving size: 1 glass (when divided into 6 serves)
Energy: 984kJ (235Cal)
Protein: 3.1g
Total Fat: 15.4g
Saturated Fat: 13.9g
Total Carbohydrate: 20g
Sugars: 12.3g
Dietary Fibre: 0.2g
Sodium: 111mg
Potassium: 0mg
Nutrition information is an estimate only. It may vary depending on the brand of ingredients used.